
我们在浏览商城网页时,有一个最基本的 JS 功能就是将商品图片进行放大,也称图片放大器功能。W3Cschool 小编就来教大家如何用JS实现图片放大镜效果。
我们先来看下实现效果:
完整源码如下:
<!DOCTYPE html>
<html lang="en">
<head>
<meta charset="UTF-8">
<title>图片放大镜 - 编程狮(w3cschool.cn)</title>
<style>
* {
margin:0px;
padding:0px;
}
#left {
width:350px;
height:350px;
float:left;
border:1px solid #cccccc;
margin-top:10px;
margin-left:10px;
position:relative;
}
#right {
border:1px solid #cccccc;
float:left;
position:relative;
width:350px;
height:350px;
display:none;
overflow:hidden;
margin-top:10px;
}
#right img {
position:absolute;
}
#small {
width:150px;
height:150px;
background-color:#F90;
border:1px solid #cccccc;
opacity:0.3;
top:0px;
position:absolute;
cursor:move;
display:none;
}
#left img {
width:100%;
height:100%;
}
</style>
</head>
<script type="text/javascript" src="https://code.jquery.com/jquery-3.1.1.min.js" ></script>
<script>
$(document).ready(function(e) {
$("#left").mousemove(move).mouseenter(function() {
$("#small").show();
$("#right").show()
}).mouseleave(function() {
$("#small").hide();
$("#right").hide()
})
});
function move(e) {
var y = e.pageY - $("#left").offset().top;
if (y >= 75 && y <= 275) {
$("#small").css("top", y - 75);
$("#right img").css("top", -(y - 75) * 800 / 350);
}
var x = e.pageX - $("#left").offset().left;
if (x >= 75 && x <= 275) {
$("#small").css("left", x - 75);
$("#right img").css("left", -(x - 75) * 800 / 350);
}
}
</script>
<body>
<div id="left">
<img src="./image/01.png">
<div id="small"></div>
</div>
<div id="right">
<img src="./image/01.png">
</div>
</body>
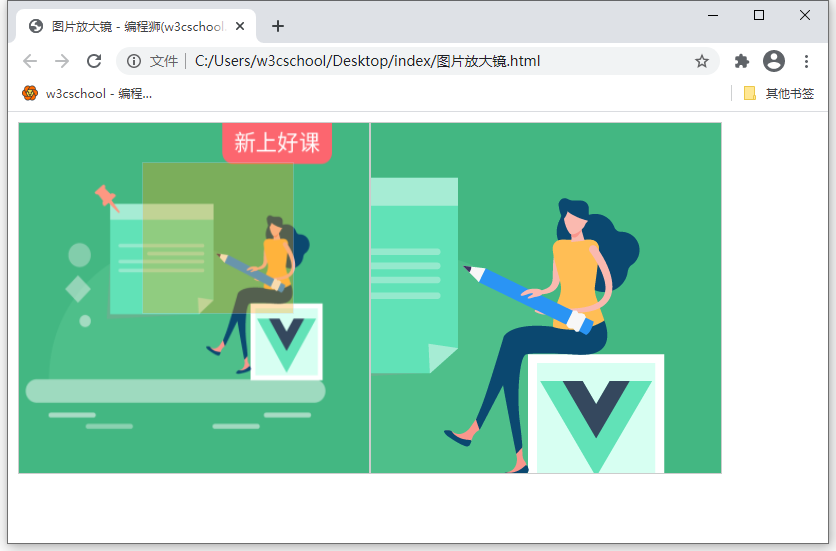
</html>图片素材:

以上就是用 JS 实现图片放大器效果的全部代码及相关素材。请同学们自行练习和巩固噢。
声明:小猿资源站是一个资源分享和技术交流平台,本站所发布的一切破解补丁、注册机和注册信息及软件的解密分析文章仅限用于学习和研究目的;不得将上述内容用于商业或者非法用途,否则,一切后果请用户自负。本站信息来自网络,版权争议与本站无关。您必须在下载后的24个小时之内,从您的电脑中彻底删除上述内容。如果您喜欢该程序,请支持正版软件,购买注册,得到更好的正版服务。如若本站内容侵犯了原著者的合法权益,可联系我们进行处理。